One click for help, just one click
Communication Mode | ZigBee |
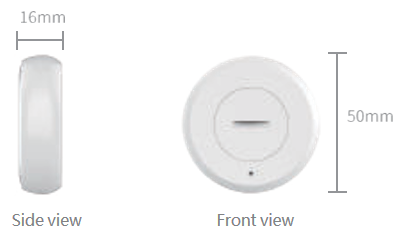
Dimension | ø50X16mm |
Operating Temperature | -10~55℃ |
Power Supply | DC 3V (CR2032) |
Material | Fireproof PC+ Fireproof ABS |
Installation | 3M glue
|

One-click help to prevent accident Easy to operate when accident happen
Low power consumption microprocessor, long standby
Low battery indication function
Send status report to the gateway periodically
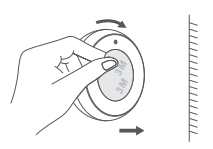
Entering the Network Configuration Mode
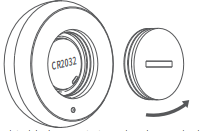
1.Power on the product.
Insert a thin blade or coin into the slot on the battery cover and rotate it anticlockwise to open the battery cover.
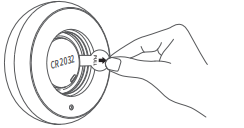
Remove the battery insulation film to power on the product and close the battery cover.
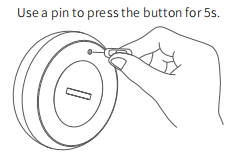
2.Press the reset button for 5S and release, the green LED will flash for network setting.
Distribetion network hint:
Press the reset button for 5s10s, the green LED is on,once green LED turns off,release the reset button. The green LED flashes, means ready for network setting.It keeps on flashing for 20s during network setting.If pressing for more than 10s,network setting cancelled.
The green LED will be on for 5s to indicate network setting succeeds. If fails,the green LED is off.
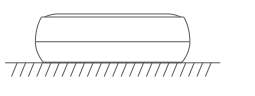
Installation Instructions
Method 1:Directly place the product in the target
position.
Method2: Remove the protective film from the
adhesive,and attach the product to the target position.